Building Arcade Games with Littlebits
Cybersecurity First Principles in this lesson
-
Abstraction: An abstraction is a representation of an object or concept. It could be something such as a door, a speedometer, or a data structure in computer science. Abstraction decouples the design from the implementation. The gauges in an automobile are an abstraction of the performance of a car. A map is an abstraction of the earth.
-
Modularization: The concept of modularity is like building blocks. Each block (or module) can be put in or taken out from a bigger project. Each module has its own separate function that is interchangeable with other modules.
-
Simplicity: Simplicity allows a person to better understand hardware and software. Without the clutter of unnecessarily complicated code and interfaces, the software will be more understandable by people that will update the code when requirements change. It will be easier to understand by the testers and they will be able to spot problems sooner. By keeping software as simple and as focused as possible, the reliability and security is greatly increased.
Introduction
In this lesson, we will explore a cool hands-on activity with Littlebits to build an arcade game. Littlebits follows a component-based design paradigm using GPIO (or general purpose input/output) to let you easily make different inventions. We will learn how to plug and play bits together to make some simple inventions. Littlebits is one the key components in your final Rube Goldberg machine. Inventions developed in this module will add a layer to your machine.
Goals
- Student will be able to use Littlebits to make a functional arcade game.
- Student will be able to understand funciontal modularity.
- Student will be able to come up with their own arcade ideas, refine them and iteratively improve their designs.
Materials Required
- Littlebits arcade kit
- Power outlet nearby
Prerequisite lessons
- Introduction to Computational Thinking and Design Process
- Introduction to Components With Littlebits
Table of Contents
- Step 1: Unbox it!
- Step 2: Gotta start somewhere
- Step 3: Pinball Hall of Fame!
- Step 4: Ready to Launch?
- Self Exploration
- Additional Resources
- Lead Author
- Acknowledgements
- License
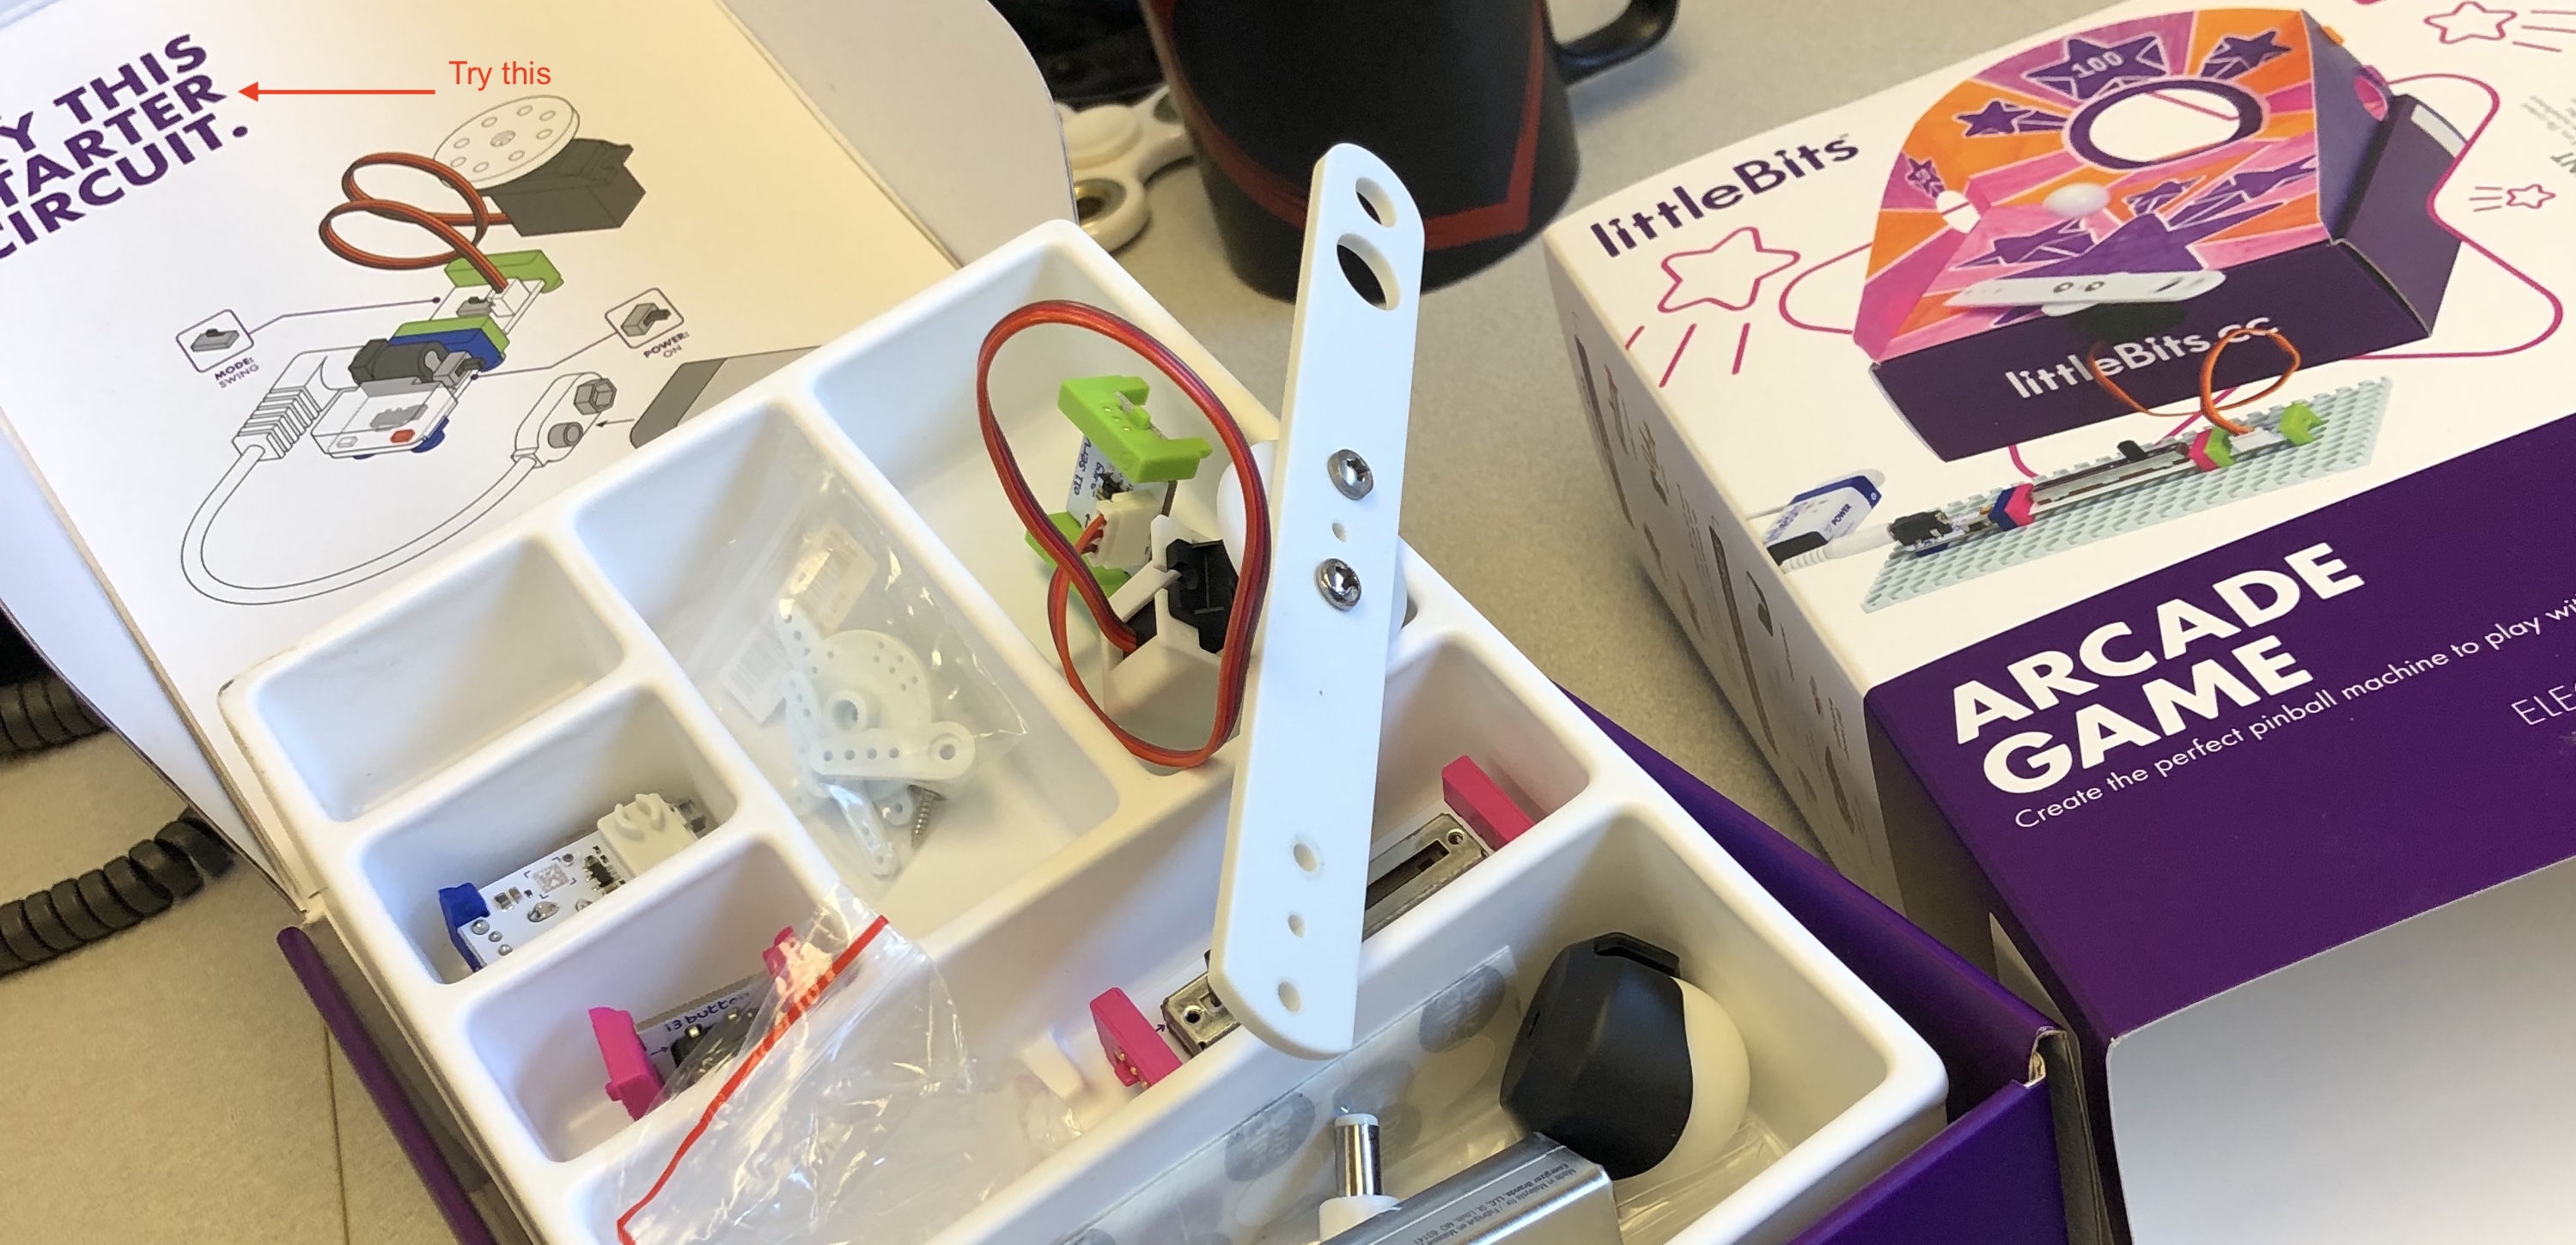
Step 1: Unbox it!
First, open your Littlebits Arcade Game box. Take a second to look at the different components you have.
A quick reminder, Littlebits is organized around three colors:
- Pink modules are inputs, like an On/Off button or a Slide Dimmer.
- Green modules are outputs, like LEDs, Fans and Servo Motors.
- Orange modules are special and usually are supportive - think splitters and logic handlers. The arcade game kit does not have a module of this kind, but we have several of these available in the camp library.
- Blue modules are power related.
Look over each module.
Step 2: Gotta start somewhere
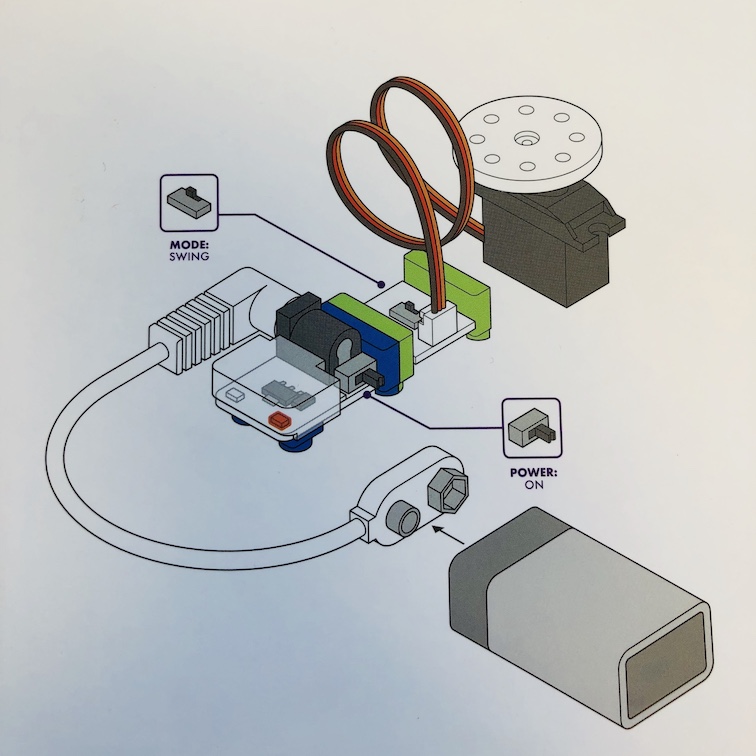
No time like the present. Let’s make a simple invention. Your box should include a helpful “TRY THIS STARTER CIRCUIT” diagram. Try and build it!
- find the blue
powermodule. - find the 9V
battery - find the white
cablethat connects thebatteryto thepowermodule - find the green
servooutput module
Lets make a simple circuit:
- Connect the
batteryto thepowermodule with the white ```cable`` - Connect the green
servomodule to thepowermodule - Set the
modetoswingon theservomodule - Move the switch to the
onposition on thepowermodule - The
servoshould swing back and forth
That was easy!
This is GPIO in a nutshell. Each module has a general purpose input and output, with a standard interface, and doesn’t need to understand or know anything about what they are connected to. These modules also need to protect themselves from invalid input. For example, try and connect the wrong side of the servo module of the power module. The magnetic polarity of Littlebits should stop you from doing so. This is a great example of the modularity cybersecurity first principle.
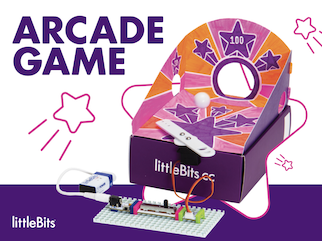
Step 3: Pinball Hall of Fame!
Ok, we’ve made our first circuit - but it’s pretty simple. Let’s add some more modules and make a pinball arcade game:
Follow the instructions linked here to build the game.
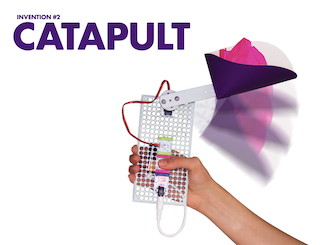
Step 4: Ready to Launch?
What can be more fun than making your own pinball machine? I know… a launcher for crumpled paper balls! Turns out, with a few modification, we can repurpose the materials used in the pinball machine to make a Catapult.
Whatever you do don’t let the teacher catch you launching these ;-)
Follow these instruction to build one of these.
Self Exploration
Seems like you got a hang of this! Now think of an invention that would nudge an Ozobot on to the next stage of your Rube Goldberg machine. Use the iterative design process to build some prototypes and then refine them.
Here is something simple that I tested:
Additional Resources
Lead Author
- Robin Gandhi
Acknowledgements
Special thanks to Dr. Matt Hale for reviewing and editing this lesson.
License
Nebraska GenCyber 
is licensed under a Creative Commons Attribution-NonCommercial-ShareAlike 4.0 International License.
Overall content: Copyright (C) 2017-2018 Dr. Matthew L. Hale and Dr. Robin Gandhi.
Lesson content: Copyright (C) Dr. Matthew L. Hale 2017-2018.
This lesson is licensed by the author under a Creative Commons Attribution-NonCommercial-ShareAlike 4.0 International License.